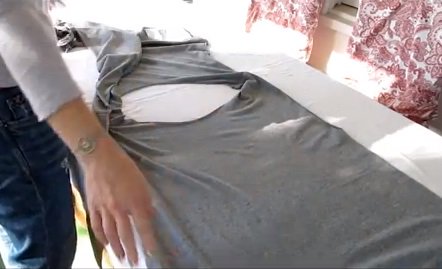
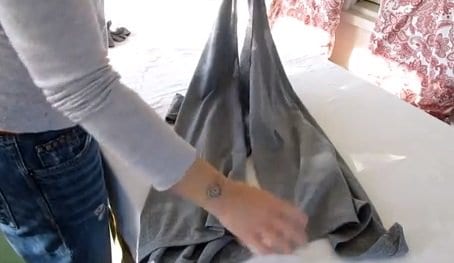
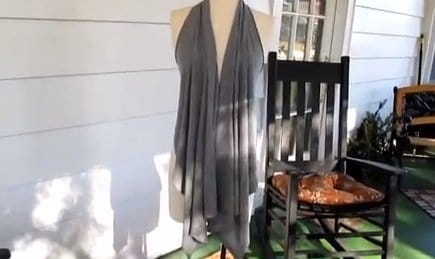
Fall is the best time of the year to do a lot of layering, so we thought we’d feature some great DIY videos on how to do a very versatile layering piece today — the wrap vest.
Like a kimono, a wrap vest can add flair to an outfit. For the cold season, you can put one over a fitted sweater or long-sleeved top, cinch it on the waist with a belt, then finish the combo with a scarf and a coat. Should the temp rise, you can just take out the coat and you will still look chic and fabulous in that wrap vest.
Unlike the kimono, however, you can actually cook up this useful topper without having to sew. Yes, you CAN. And the best part is that it’s totally easy.
The wrap vests we’re going to show you today come in three styles. One is circular and features a collar that falls and drapes fluidly like a waterfall, the other is pretty much a straightforward type of vest, and the third one is a sexier kind that follows the halter silhouette.
Depending on how you like the vest to turn out, simply follow the video that suits your preference.
1. Circular Wrap Vest
Let’s start with the circular vest. Our vlogger, Elizabeth of You And I Heart DIY, is actually from Germany so her video is, well, you guessed it — in German. But don’t worry if you can’t understand her because the video is very simple and you will easily be able to grasp the concept.
For this project, you will need a soft stretchy fabric like jersey, scissors, some pins, and a ruler. If you want your vest to be long like a coat, then be sure to grab a longer fabric (more yardage).
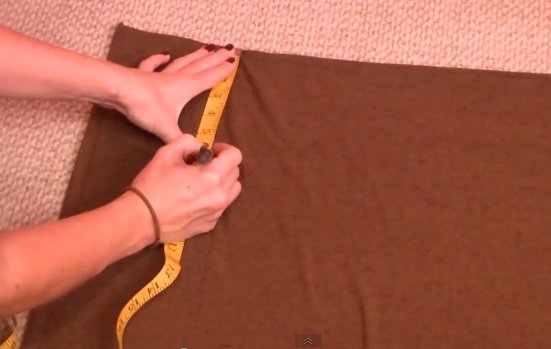
Once you have your fabric, take the necessary measurements such as the circumference of your armhole, the width of your back (near the armpit area), and the length you want your vest to be (for the length, measure from the top of your head).
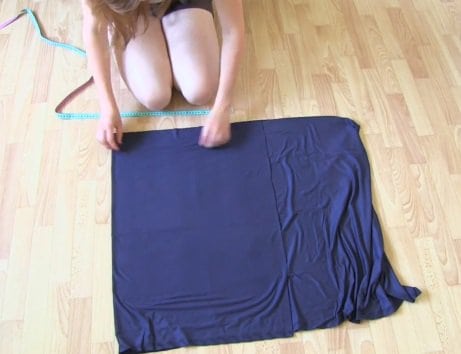
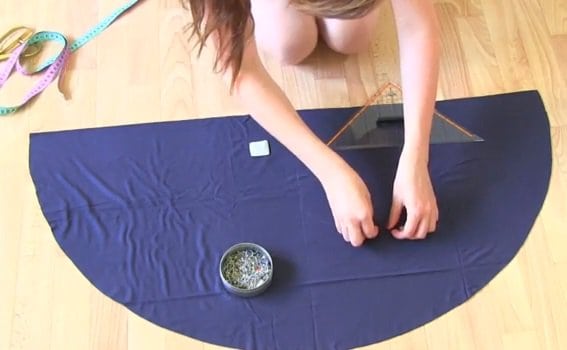
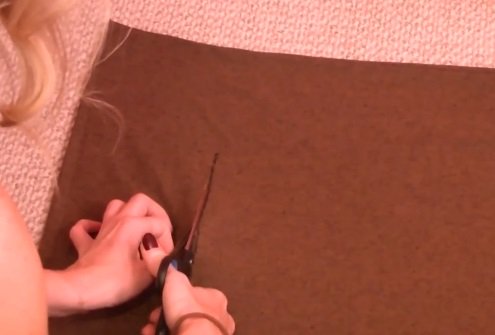
Once you have those, grab enough fabric and fold it into four. Mark and cut the fabric into a circle. Remember that the diameter of the circle should be equal to your desired length.
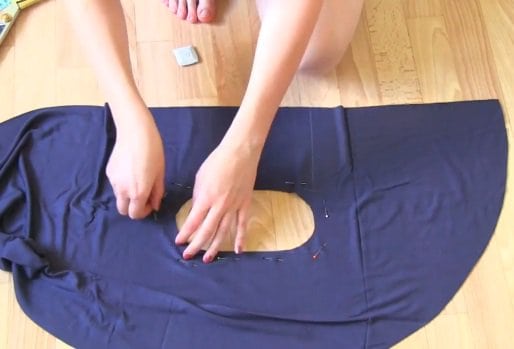
Once you’re done cutting the fabric, unfold once so you get a half-circle. From there, mark one side to create two armholes. To do this, you will need half of your back-width measurement. Measure from the folded (straight) side of the fabric and mark.
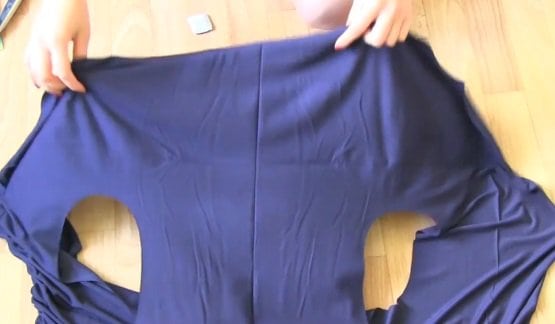
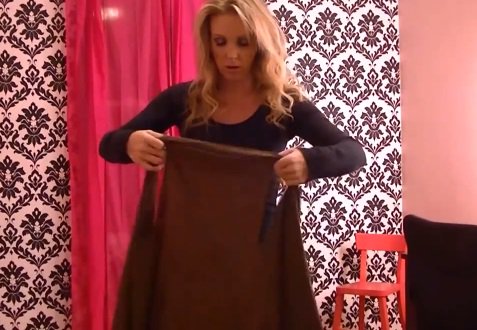
Create an oblong pattern with your armhole measurement, and then cut. Unfold and voila! You have yourself a circular wrap vest!
2. Classic Wrap Vest
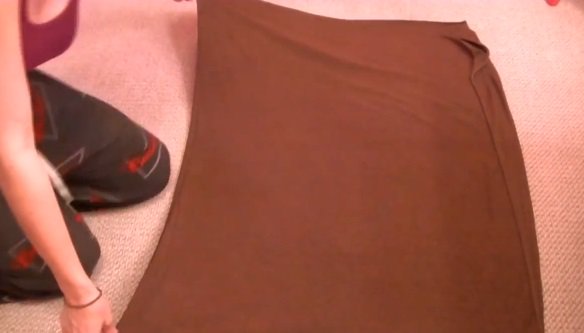
The classic wrap vest is very straightforward. You only need a pair of scissors and a yard of jersey fabric (58 to 60 inches in width). Also, for this DIY, you won’t need to cut the fabric into a circle.
You just fold it in half, mark the armholes, and then cut. Check out the video below by vlogger, Mandy Candy.
If you want something a little more detailed, you can follow this video done by Dama, another vlogger over on YouTube who has quite a collection of DIY tricks.
3. Halter Wrap Vest
The third wrap vest is slightly different because it follows the halter silhouette. Our vlogger for this do-it-yourself project is Anne Hollabaugh, who authors WobiSobi. She is actually quite a DIY genius.
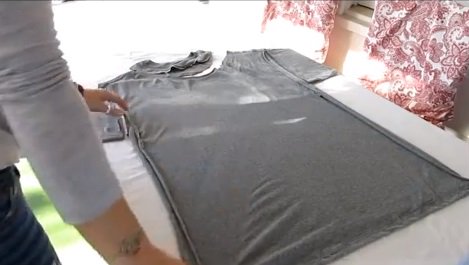
Anne simply used an old T-shirt to come up with this drapey halter wrap vest. After cutting the neckline and sleeves of the shirt, she proceeded to cut the side seams of the shirt as well. Check out the pics and video below:
Genius, right?!
If you want the vest to be longer than waist level, you can do so using a clean piece of fabric that is large and long enough. Something that’s about 36 inches long (or longer, if you wish) and 45 inches across will do the trick.
Simply fold the fabric on the short side and cut a circle at the center of the folded area to create the halter neckline. Open up the fabric and voila! You’re done!
So are you ready to get crafty? Which project will you try today?
Or are you too lazy (or busy) to do something like this? If the answer’s a yes, then here’s a ready-made piece that’s worth grabbing. It’s a beaded topper that is completely awesome because you can wear it with practically anything, whether it’s a maxi dress or a pair of denim shorts.

