
Our shoes take us to many places. And usually, we find ourselves stepping in hotbeds of dirt, mud, and grime. As we walk, the soles of our shoes constantly pick up dirt and germs, making them the common breeding grounds for bacteria.
Getting our shoes dirty is inevitable, but there are ways to clean them to make them look as good as new and, not to mention, avoid getting disease-causing bacteria.
While black rubber soles are easy to clean with just soap and water, cleaning white rubber soles is a little different.
Dirt, dust, and grime can build up fast on white rubber soles, which, if not treated right away, can cause discoloration.
The good news is it is possible to keep your white rubber soles looking as fresh as the day you bought them. Check out these tips from Famous Footwear on how to clean rubber soles on your shoes below:
Using Soap and Water
Step 1: Remove caked-on dirt on the soles. Bring your shoes outside and slap the soles of your shoes together to remove caked-on dirt or mud.
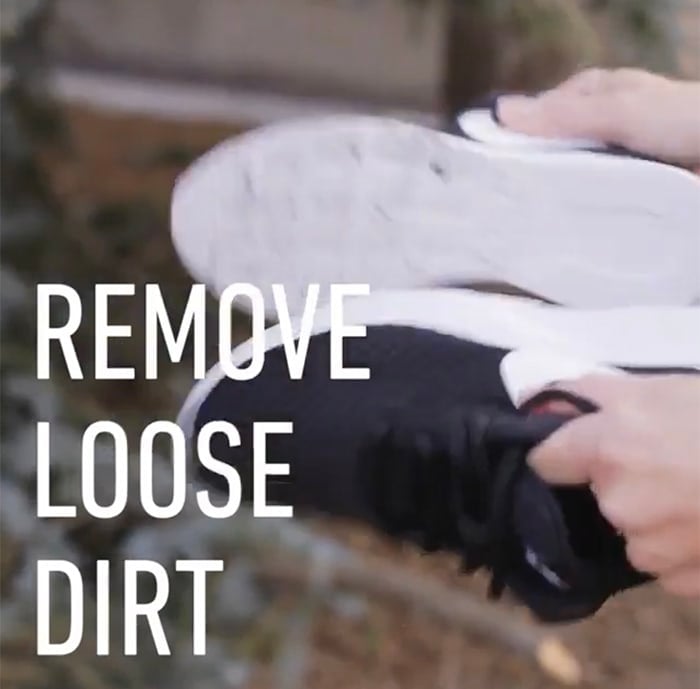
Step 2: Using a dry brush or a toothbrush, remove any loose dirt. Do not use steel brushes as they can damage the rubber soles.
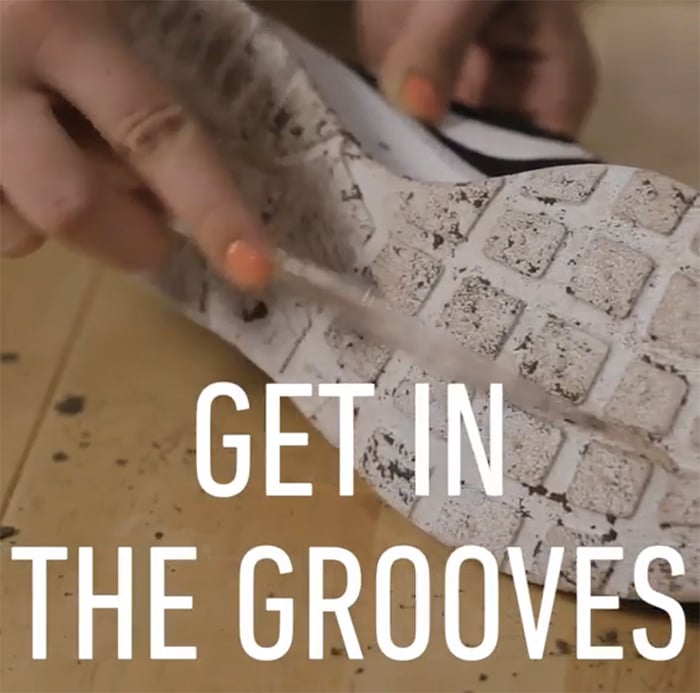
Scrub the soles properly. Get in the grooves as well as the edges to remove as much dirt as possible.
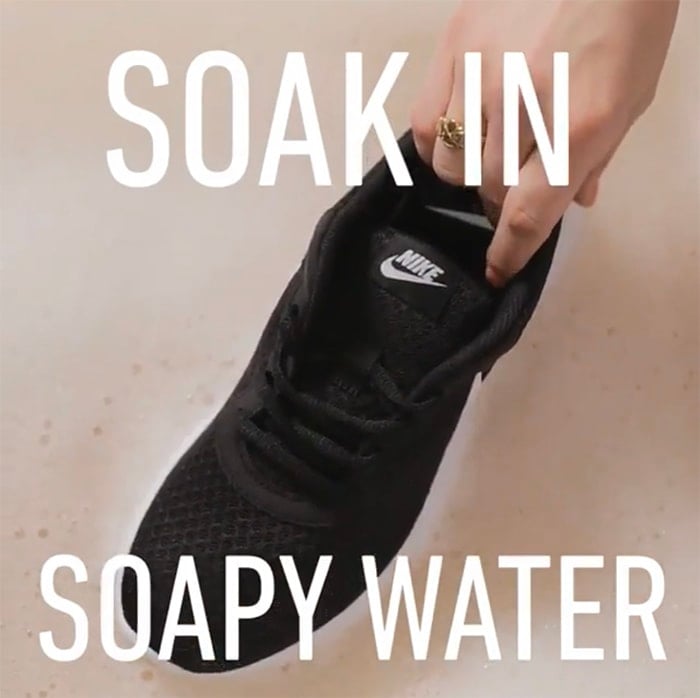
Step 3: Fill a plastic pan or basin with warm water and add a small amount of dish soap. Stir the water until the dish soap is mixed in. Use just enough water to cover the soles of your shoes.
Step 4: Soak your shoes in the soapy water. Dip only the soles and make sure the solution does not reach the upper of your shoes. Leave it for about 20 minutes.
Step 5: Scrub the wet rubber soles with a toothbrush to remove any remaining dirt.
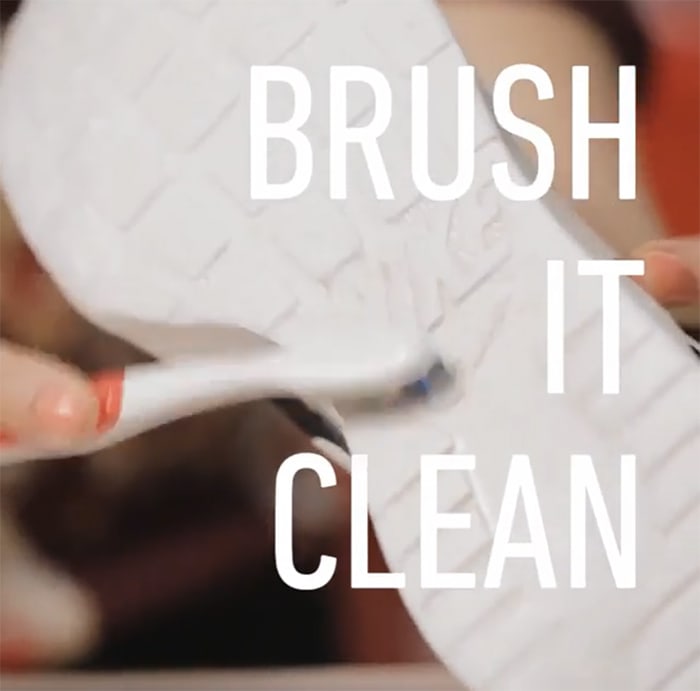
Step 6: Wipe the soles with a cloth to dry them.
Using Baking Soda and Laundry Detergent
Step 1: Similar to the first step above, you have to remove large bits of mud or dirt first by smacking your shoes together.
Step 2: Remove any loose dirt using an old toothbrush. You don’t need to remove the dirt completely with the brush because it will loosen once you use the cleaning solution
Step 3: Set your shoes aside and start making the cleaning solution. Mix a tablespoon of baking soda with an equal amount of laundry detergent in a small bowl or cup until it forms a paste.
Do not use laundry detergents with a bleaching agent as it could damage your shoes.
Step 4: Apply the paste on the soles of your shoes using a toothbrush. Scrub it in a circular motion and avoid touching the fabric of your shoes.
Step 5: Use a wet cloth to wipe away the solution along with the rubber of your shoes. Make sure to completely rinse off the solution.
Step 6: Dry the rubber soles with a clean cloth.
Using Nail Polish Remover
In case you notice scuff marks on your rubber soles, you can use a nail polish remover. Just as you would remove your nail polish, you can use it to get rid of scuff marks and dirt on your white rubber soles.
Step 1: Remove any dirt from your shoes first using either of the two methods above. After cleaning your shoes, you can now start with the nail polish remover method to remove scuffs.
Step 2: Soak a cotton ball in a nail polish remover. You might need to use more than one cotton ball depending on the dirt or scuff marks on your shoes.
Step 3: Scrub away the scuff marks with the soaked cotton balls.
Step 4: After removing the scuffs from the soles, you may want to clean the rest of the rubber sole with the soaked cotton ball.
Do not use nail polish remover on the fabric of your shoes as it could cause discoloring.